“All things are difficult before they are easy”.
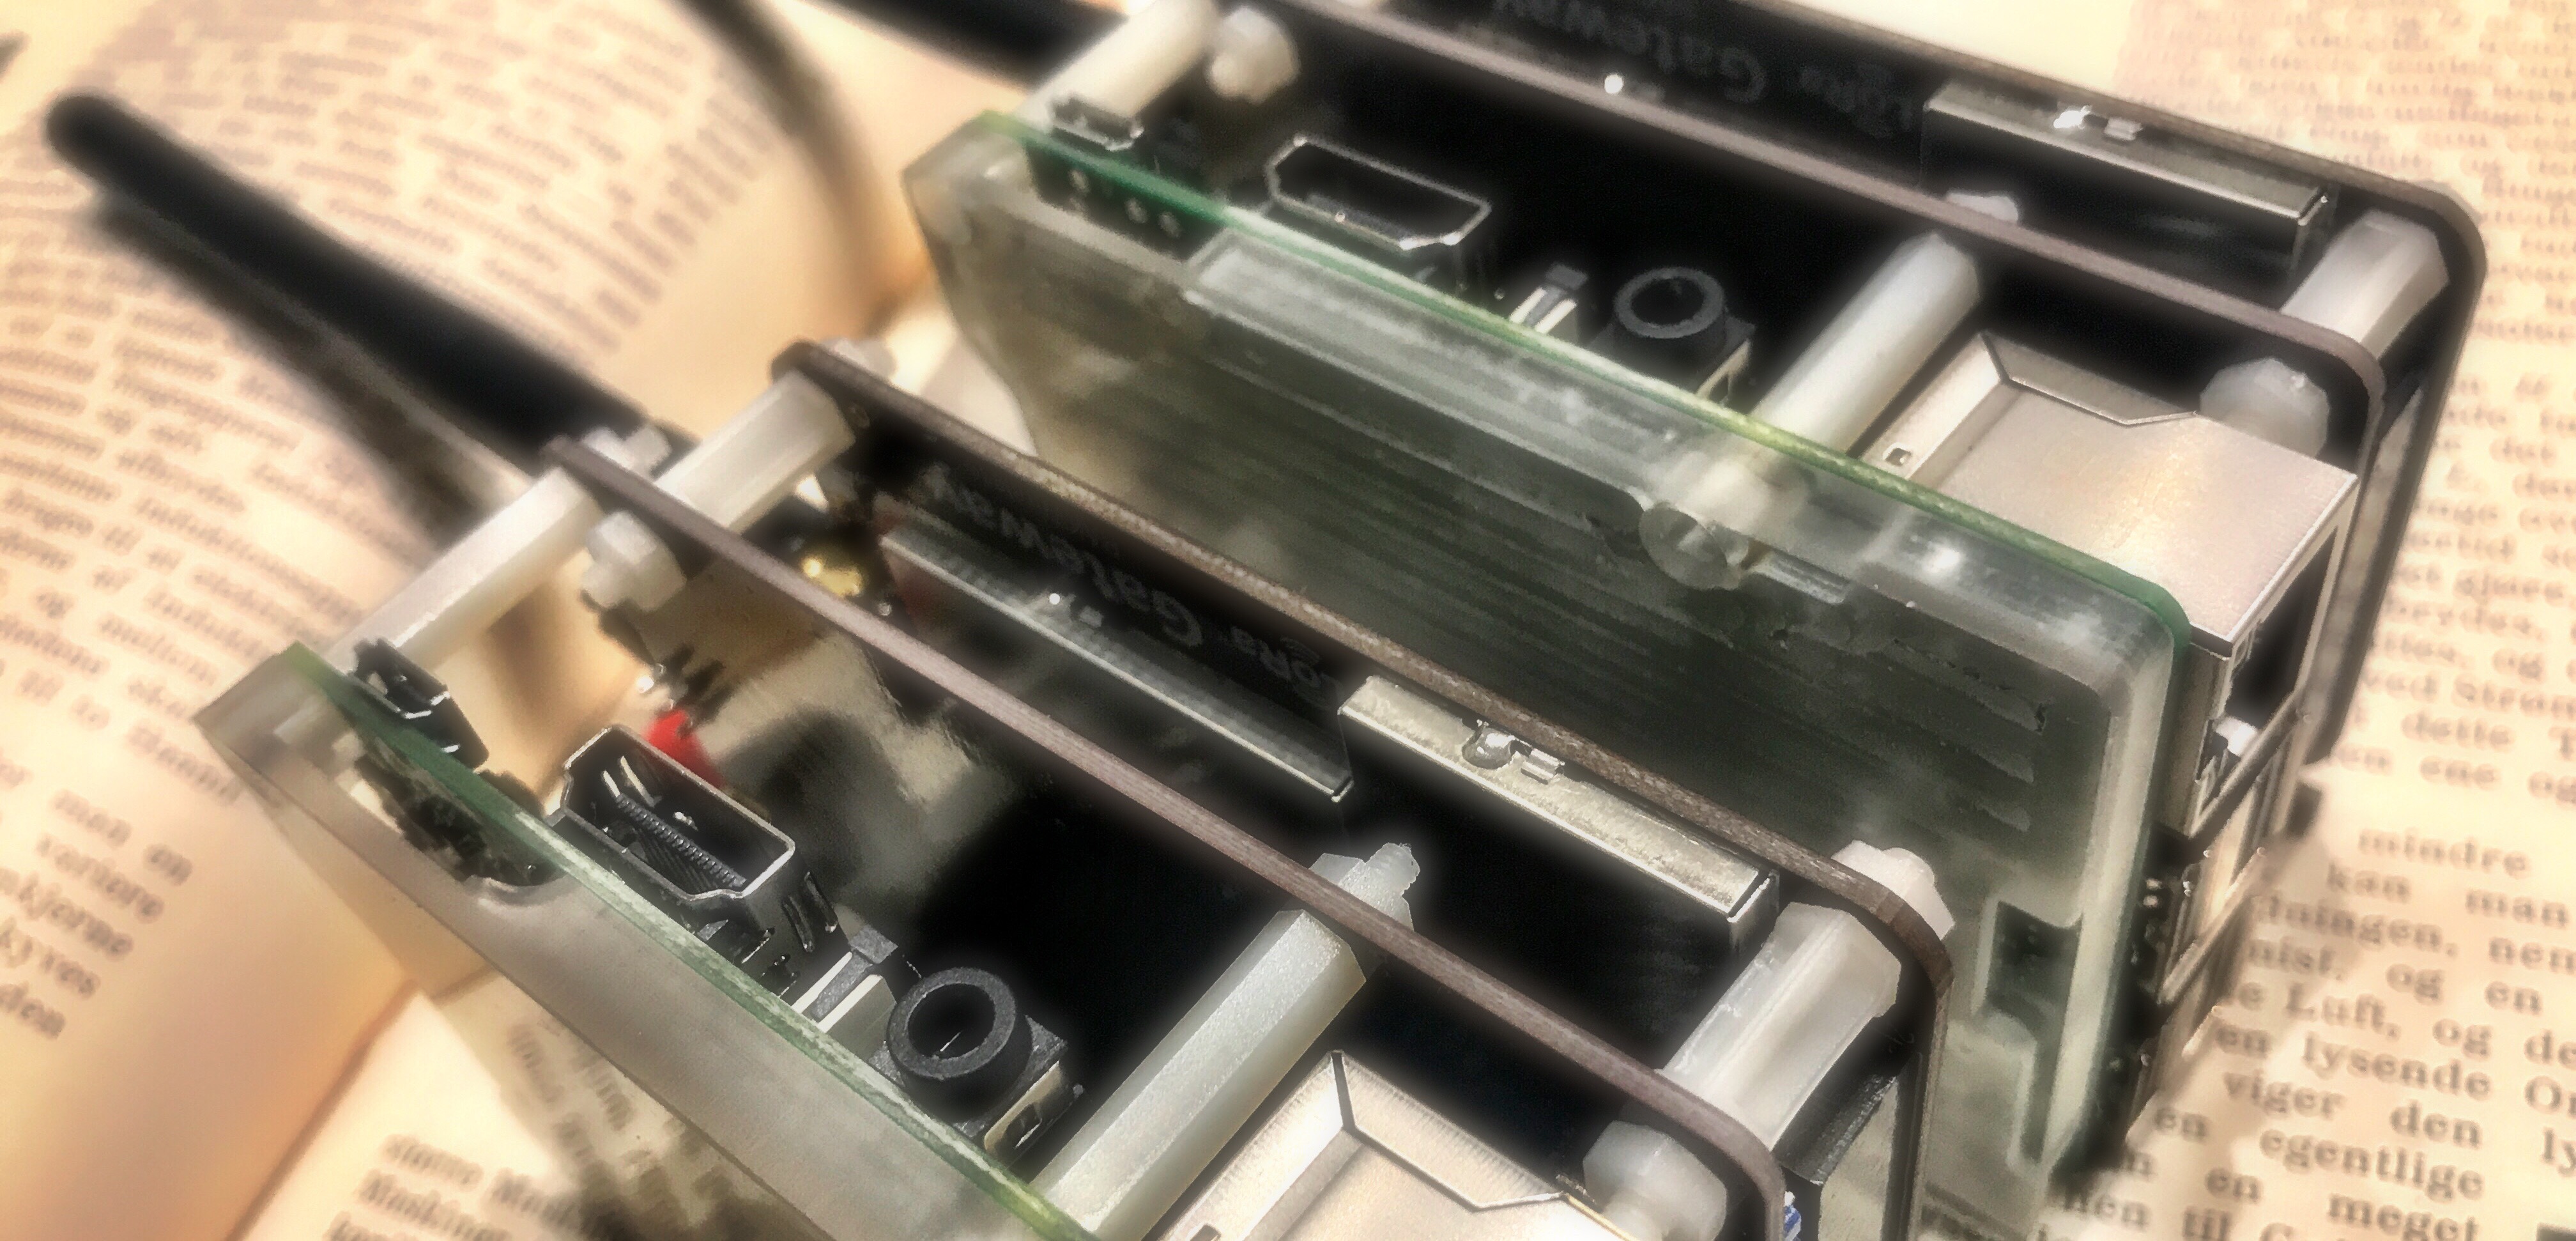
I recently ordered a couple of RAK 831 LoRa gateways from China. If you already have a Raspberry Pi, you can get the gateway module for approximately 120 USD. If not, you can get a kit, containing the module, a raspberry, antenna and a prepopulated SD card, with the necessary drivers and software installed. This is slightly more expensive, but it saves you a lot of hassle.
I was rather impressed with these gateways. They are relatively cheap and are eminently hackable. I had connectivity with our backend server right out of the box after having updated only three lines in a configuration JSON file. They seemed like the perfect choice for a home LoRa gateway.
Unfortunately, the SD cards that were shipped with the kit, turned out to be faulty. They died after a couple of days. I popped out to my local SD card dealer, purchased a handful of decent SD cards and started configuring the Raspberry and gateway from scratch. This turned out to be a lot easier than expected.
This writeup borrows heavily from the document Getting started with the RAK 831 LoRa Gateway and RPi3 V1.0
Since I didn’t need any GUI, I downloaded Raspbian Stretch Lite and used this as a starting point.
Initial setup is like any other fresh Raspberry installation, but you have to make sure to also have git installed and SPI enabled. You can enable SPI from raspi-config/interfacing options/enable SPI)
My desk already looks like a scene from the “upside down” in Stranger Things, so I hooked up a wireless keyboard and enabled SSH and Wi-Fi. The less wires, the better :)
Assuming that you have a functional Raspberry setup, you will have to do the following in order to get your gateway up and running:
1. Wiring.
I didn’t have to worry about this part, since my kit consisted of a preassembled shield + Raspberry. If you have the separate module, you can find the wiring instructions in the “Getting started” document linked above.
2. Clone and run the installer
git clone -b spi https://github.com/ttn-zh/ic880a-gateway.git
sudo ./install.sh spi
This installation is geared towards using TTN, but it works perfectly well for other LoRaWAN compatible servers - like ours :)
The installer will prompt you for name, GPS coordinates, contact email as well as whether or not you would like to enable remote configuration. When using our server, the remote configuration is not necessary. The installer will also print the gateway EUI, notes this down for it will be of great importance later in the process.
3. Configure the packet forwarder.
Your LoRa packets will have to be sent somewhere. Open the global_conf.json file for editing.
sudo vi /opt/ttn-gateway/packet_forwarder/baseic_pkt_fwd/global_conf.json
Scroll down to the “gateway_conf” section, specify server address and ports. Then save the config file.
        "gateway_ID": "<INSERT HERE THE PREVIOUSLY NOTED GATEWAY EUI>"
        "server_address": "api.lora.telenor.io",
        "serv_port_up": 8000,
        "serv_port_down": 8000,
Also, make sure that local_conf.json has been updated with the correct ‘gateway_ID’:
sudo vi /opt/ttn-gateway/packet_forwarder/basic_pkt_fwd/local_conf.json
4. Make sure that the RAK 831 module is reset before use.
The docs states that the board should be reset after each boot (before we start the packet forwarder). In order to accomplish this we should pull the reset pin (19 on the module) high, wait 5 seconds, then pull it low.
“Pin numbering of the BCM2835 GPIO port(s) on the Raspberry Pi has been a source of great confusion since the designs for the Pi were first published”, wiringPi author, Gordon
The RAK documentation has provided us with a little helper program in C, that will allow us to accomplish the reset.
#include <unistd.h>
#include <wiringPi.h>
#define GPIO_RESET_PIN 0 // see wiringPi mapping !
int main() {
    wiringPiSetup();
    pinMode(GPIO_RESET_PIN, OUTPUT);
    digitalWrite(GPIO_RESET_PIN, HIGH);
    sleep(5);
    digitalWrite(GPIO_RESET_PIN, LOW);
}
All was well until i noticed the comment in the helper C code snippet included in the documentation
Then I also got confused. I started verifying the physical connections between the module connector and the raspberry connector. According to the documentation, pin 19 on the RAK 831 should be connected to RPi physical pin 22. It isn’t. It is wired to physical pin 11, which is BCM GPIO pin 17, which in turn is - wiringPi pin 0 - Doh!
In order to compile this little reset helper, you will have to download wiringPi
git clone git://git.drogon.net/wiringPi
cd ~/wiringPi
./build
We can now compile the helper program.
gcc -Wall -o RAK831_reset RAK831_reset.c -lwiringPi
And we’re done ! Let’s run the reset helper.
./RAK_reset
and…
5. Register your gateway - in - the - cloud
Open up a browser and navigate to https://lora.engineering. Log in with Connect ID. If you don’t have Connect ID, it is real easy to register. Once you’re logged in:
- Select “Gateways” from the top menu.
- Select “Add new Gateway”.
- Enter a name and a description of the gateway.
- Enter your gateway ID / EUI.
- Leave “127.0.0.1” as IP.
- Unselect “Strict IP”.
- GPS coordinates can be selected by navigating the map.
- Click on “Create new Gateway”.

6. start the packet forwarder!
cd /opt/ttn-gateway/packet_forwarder/basic_pkt_fwd/
./basic_pkt_fwd
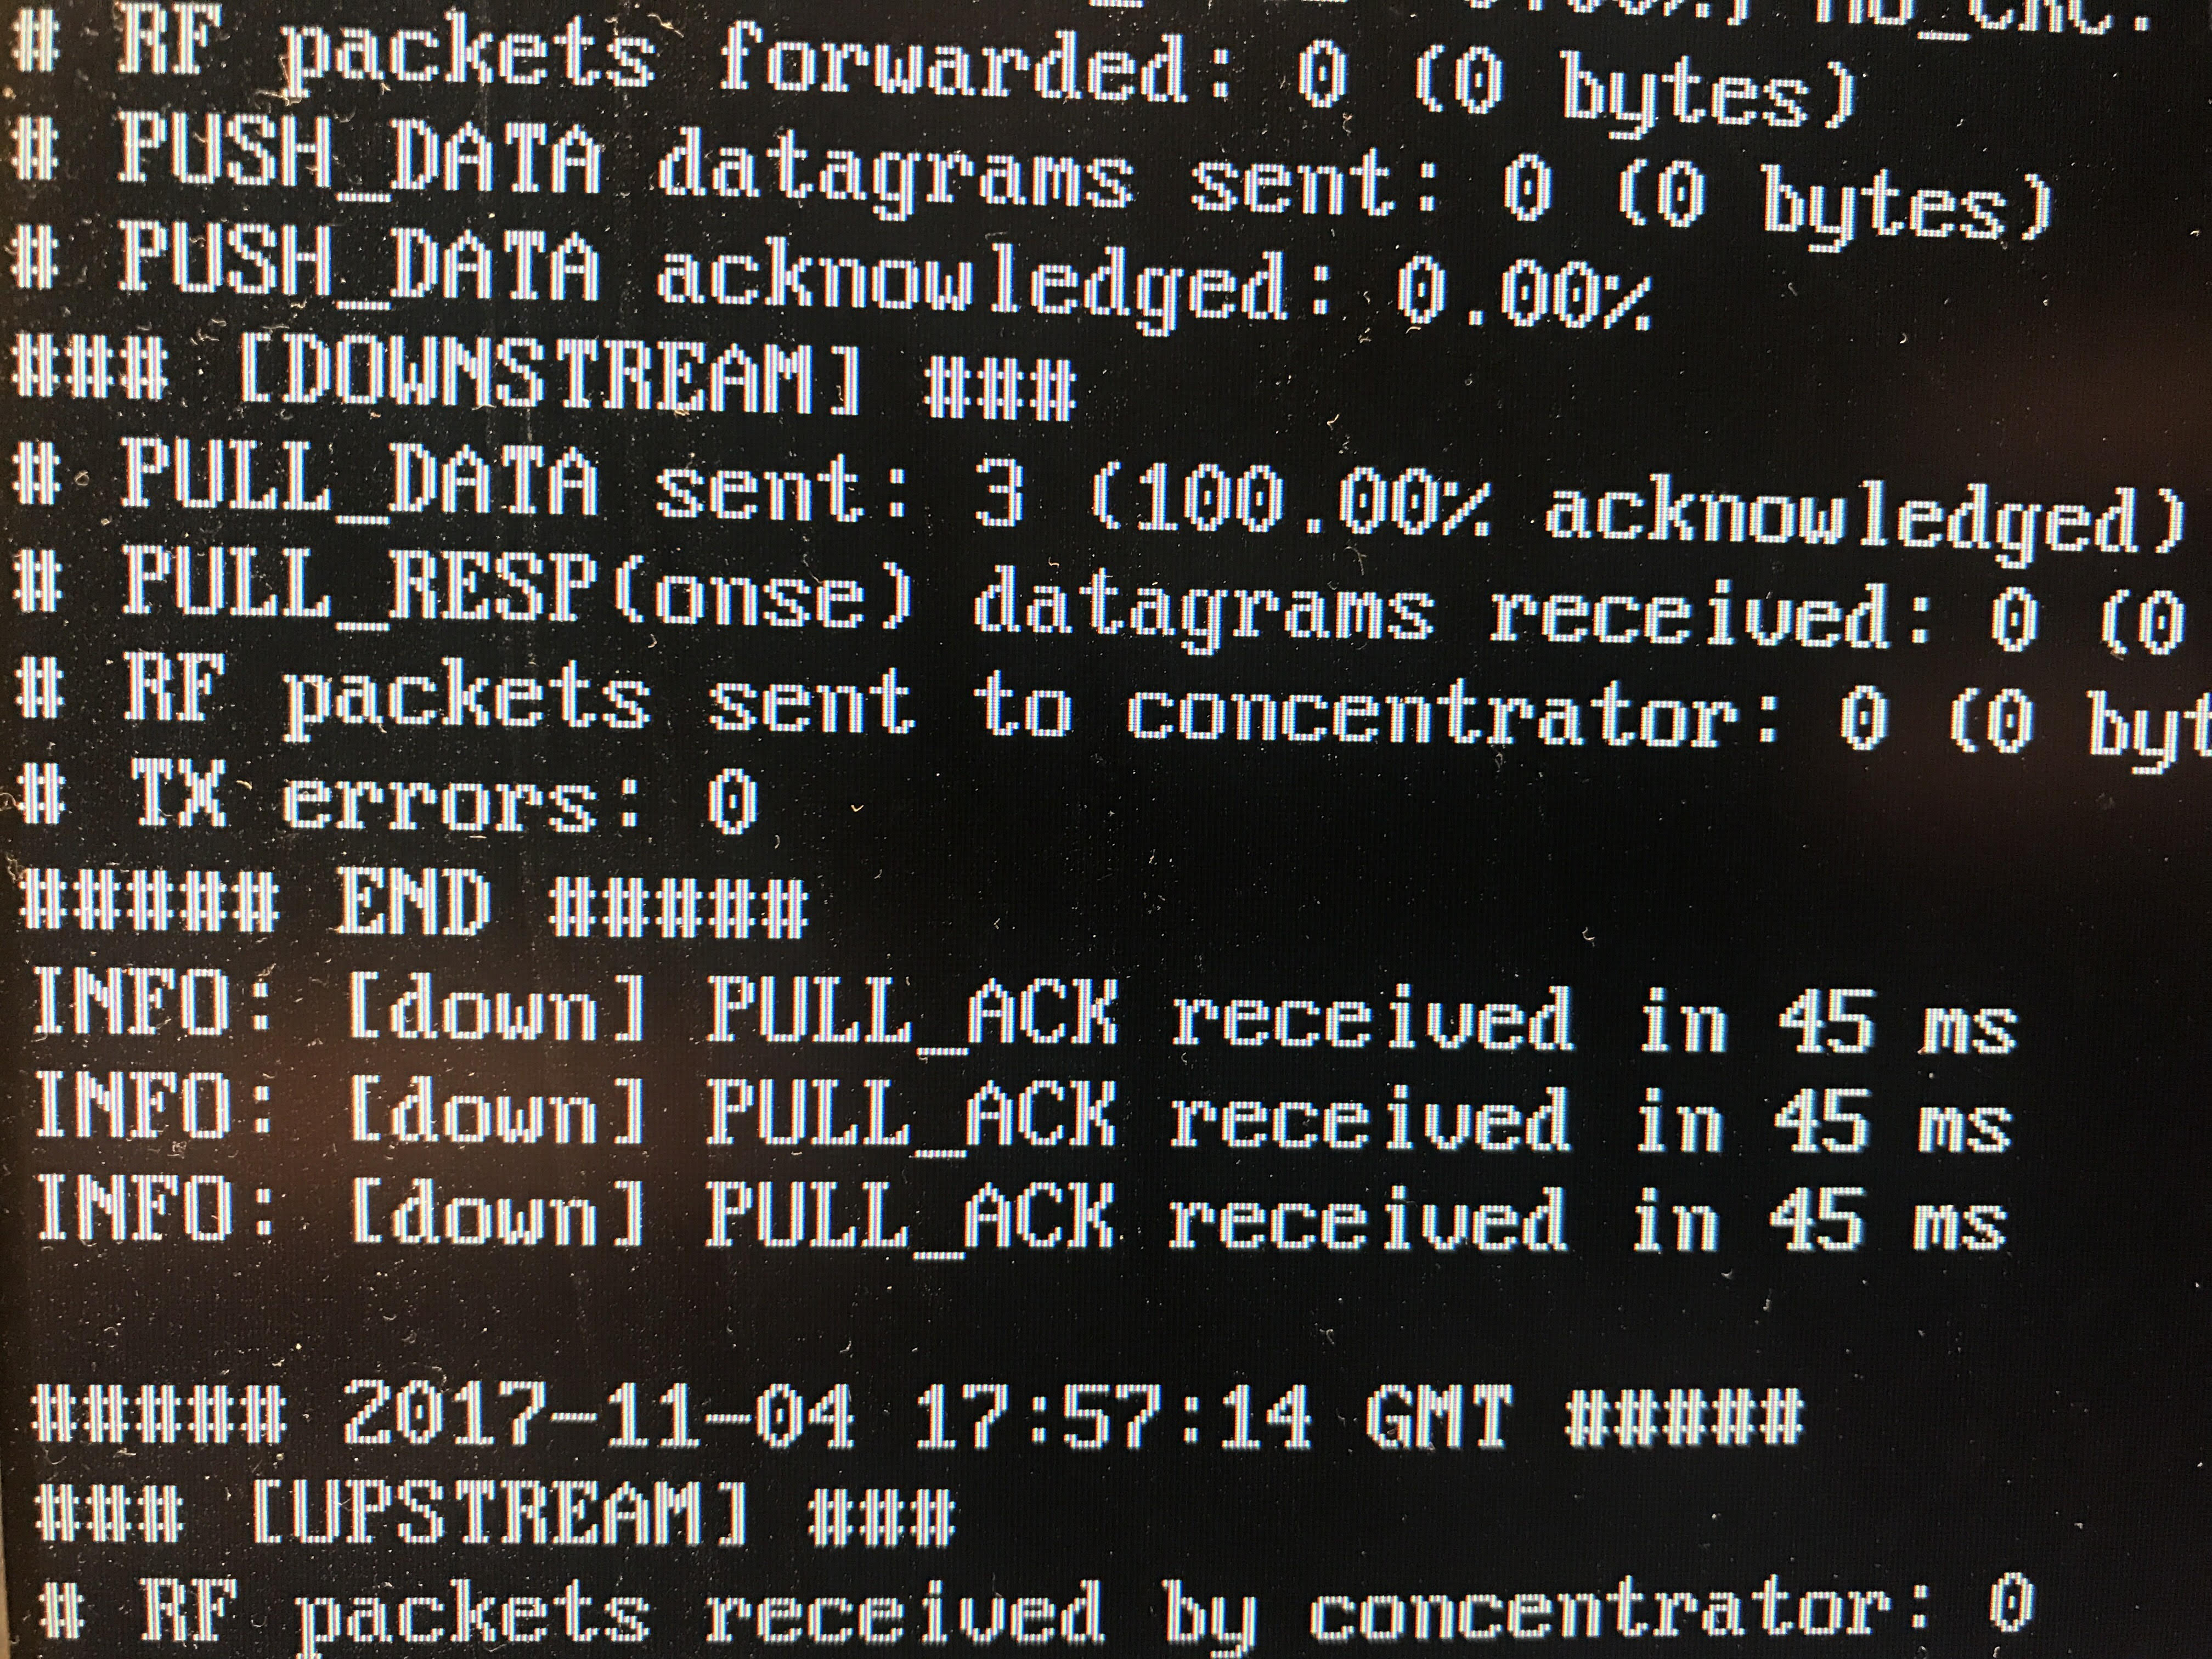
The packet forwarder will start and will provide you with a screen full of not particularly useful information. If there is an error, it will exit. If not, it will start listening for LoRa packets on the air and also send PULL-messages to the backend server. If the packet forwarder doesn’t receive any PULL_ACK responses from the server it will also exit. If you spot messages of the type “PULL_ACK received in xx ms”, you’re home free :)
You are now ready to create applications and register devices. Happy hacking !
PS. If you plan on playing around with LoRa modules, be sure to get devices that transmit in the frequency band that is allocated for LoRa in your territory. The regional ISM bands are as follows:
| Region | Frequencies |
|---|---|
| EU | 863-870MHz |
| AU | 915-928MHz |
| US | 902-928MHz |
| CN | 779-787MHz |
The exact frequencies can be found in the document “LoRaWAN Regional Parameters” available from the LoRa Alliance.